
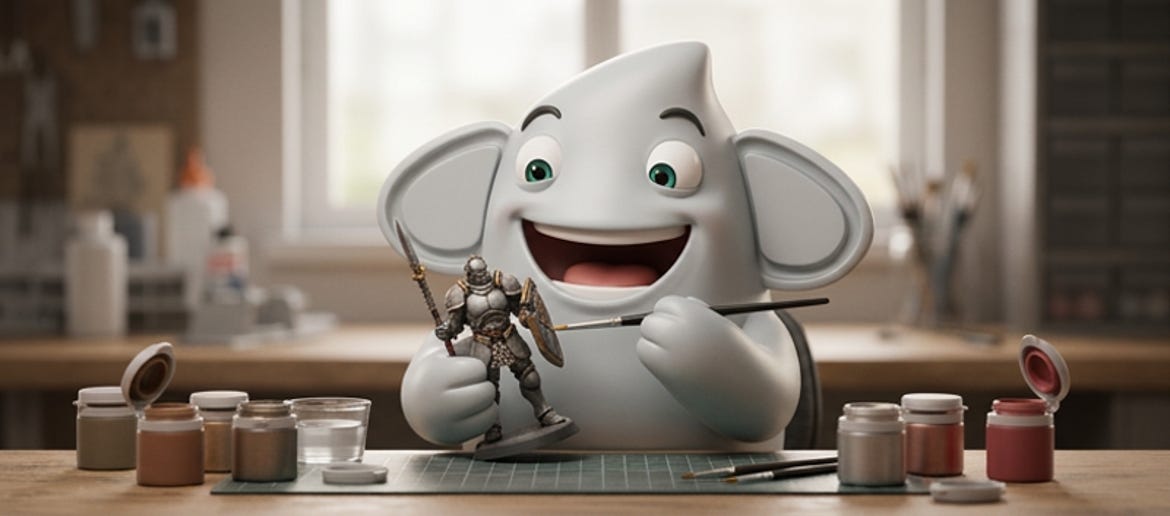
Miniature Painting for Beginners: A Short Guide
August 2026
Miniature painting is one of the most accessible hobbies within the realm of tabletop miniatures and model making. It is a hobby where mastering just a few basic techniques can lead to significant improvements in your work. Beginners often face a common question: which materials and techniques are the best to use? This guide will walk you through the essentials step by step, covering topics from priming and selecting the right paints to the key painting techniques you need to know.
A quick note before we go on: we are not professional miniature painters, and this article is not intended to teach anything new to experienced painters. So, please be gentle with us! If this guide makes the hobby feel a little more approachable for someone just starting out, then it will have achieved its purpose.
Primer: the first step before painting
The first thing you learn in miniature painting is that you do not simply start painting directly onto the bare miniature. The bare surface should be primed first. This consists of a thin base coat, usually applied from a spray can, in black, white or grey.
This may seem like an unnecessary extra step, but it is not. Primer helps the paint adhere properly later on, and the colour of the primer you choose also affects the final result. Black creates darker, more contrast-rich tones, white makes colours appear brighter and more vivid, while grey sits neatly in the middle: a good compromise that works well with both light and dark paint layers.
Choosing the right paint for miniatures
This can feel a little overwhelming at first, as the range of paint types is huge. For beginners, however, acrylic paints developed specifically for miniatures are more than enough. These paints differ significantly from ordinary craft paints. Their consistency is designed to work with the fine details of a miniature, flowing into recesses and folds while creating small shadow and depth effects almost by themselves, without much extra effort.
A common beginner’s mistake is applying paint too thickly and straight from the pot. The result can look clumsy and cover up fine details. A better approach is to:
- thin the paint slightly; a little water is usually enough,
- work in several thin layers instead of one thick layer,
- allow for patience, as more layers usually mean a cleaner final result.
Brushes for miniature painting: what to look for
Choosing the right brush is almost as important as choosing the right paint.
► Size and shape: For larger areas such as cloaks or sections of armour, choose a slightly wider round brush. It allows the base coat to be applied quickly and evenly. For faces, eyes, buckles or other small details, however, you will need a very fine detail brush with a sharp tip.
► Brush hairs: synthetic or natural? Yes, there is a difference between synthetic brushes and those with natural hair, often sable. Synthetic brushes are usually cheaper, more robust and easier to care for, making them a good starting point while you are still experimenting. Natural hair brushes, on the other hand, hold their point for longer, carry more paint and allow even finer line work. They are generally more worthwhile once you have built up some routine and know that you want to keep going.
► The right brush for the right technique: Different techniques naturally call for different brushes. For washes, a slightly larger, softer brush works well, as it picks up the thin paint and distributes it evenly. For drybrushing, it is best to use a slightly older, frayed brush. In fact, it is an advantage if it is no longer brand new, as the bristles are better suited to creating the dry, dusty effect. For edge highlighting, you really do want the finest brush in your set, so you can catch only the outermost edge rather than painting the whole surface.
► Brush care for long-lasting brushes: One thing that is very easy to underestimate at the start is brush care. Paint that dries in the bristles permanently ruins the fine point. After each painting session, rinse your brushes thoroughly with lukewarm water and gently reshape the tip before laying them flat to dry. It may sound like a small detail, but it can make the difference between a good brush lasting three weeks or three years.
What are the various techniques used in miniature painting?
Primer and a simple coat of paint are just the beginning. There are many techniques that can turn an “okay” painted miniature into something with real detail and character:
► Base coat: This is essentially the first proper layer of paint after the primer: an opaque base colour for the area in question, such as red for a cloak or silver for armour. The key here is to apply it thinly, using several layers if necessary, rather than putting it on thickly in one go. This is the foundation everything else builds on.
► Washes: A wash is a heavily thinned, dark paint that is applied generously over the miniature. Thanks to its thin consistency, it automatically collects in recesses, folds and gaps, creating shadows and depth almost by itself. For beginners, it almost feels unfair how much impact such a simple technique can have.
► Drybrushing: For this technique, you dip a brush briefly into paint and then wipe almost all of it off again on a cloth before brushing over the miniature. What remains is only a very fine film of paint, which catches on raised edges and textures. It is excellent for surfaces such as fur, stone or fabric, and honestly one of the most relaxed techniques, as very little can go wrong.
► Layering: This is the technique that requires the most practice for many miniature painters. It involves applying several increasingly lighter shades in small, controlled layers, usually working from deeper areas towards the light source. The result is a soft, realistic transition from dark to light, rather than a flat, single-colour surface.
► Highlighting: Closely related to layering, but more targeted: with a fine brush and a lighter colour, highlights are deliberately placed on edges, folds or raised areas where light would naturally hit. This gives the miniature much more depth and makes it look more lifelike.
► Edge highlighting: A specialised form of highlighting where only the very outer edges, such as sword blades or armour rims, are picked out with a very fine, often almost dry brush. It may look subtle at first glance, but visually it makes a huge difference, especially in photos or on the tabletop under light.
Conclusion: Getting started with miniature painting
A beginner at miniature painting does not need to master every technique straight away. Primer, a few good paints and a few suitable brushes are more than enough to get you started. The rest will come with practice and experience. The most important thing is to just dive in and get started. Your first miniature will never be perfect, and that is exactly part of the learning process.
The most important tip for getting started with your first attempt is to choose a simple miniature that is not overly detailed, rather than trying a complex model straight away. Making mistakes in the beginning is part of the process, but seeing your first finished miniature is usually enough motivation to move on to the next one.
FAQs – Frequently asked questions about miniature painting for beginners
Which primer should I use as a beginner?
Grey primer is particularly suitable for beginners, as it works well with both light and dark paint layers and makes small mistakes less noticeable.
What type of paint is best for painting miniatures?
Special acrylic paints for miniature painting are recommended, as their consistency is designed specifically for the fine details and recesses of miniatures.
Which is the best technique for beginners?
Washes are considered especially beginner-friendly, as they create shadows and depth automatically with very little effort.
Do I need expensive equipment to start painting miniatures?
No. A primer, a few basic colours and one or two brushes in different sizes are perfectly sufficient for getting started.
How long does it take to finish painting a miniature?
How long it takes to finish painting a miniature depends heavily on the level of detail and the quality you are aiming for. Simple miniatures with a base coat, wash and drybrushing can often be finished in one to two hours, while more advanced layering and highlighting can take considerably longer.
Do I need to clean the miniature before painting?
Yes, it is recommended to clean the miniature before painting. Especially with freshly printed or cast miniatures, residues from release agents or dust can affect the adhesion of primer and paint. A quick wash with warm water and a little washing-up liquid usually solves the problem.
What do I do if the paint does not adhere properly?
If the paint does not adhere properly, the cause is usually missing or unevenly applied primer. An even, thin coat of primer solves this problem in most cases.
Can I use normal acrylic paint from a craft shop?
In principle, normal acrylic paint from a craft shop can be used for miniature painting. However, paints developed specifically for miniatures are better suited in consistency and pigmentation to small surfaces and fine details, which usually leads to better results.
What's a good miniature for a first attempt?
For a first attempt, choose a miniature with simple, clear surfaces that are not too small or too intricate. Too many fine details can be frustrating at the beginning, before you've learnt basic brush control techniques.
How often do I need to replace my brushes?
With good care, rinsing after each session and drying them in shape, high-quality brushes can often last for several years. Plus, frayed or misshapen brushes can continue to be used for drybrushing instead of being discarded.
Related products
-
The Army Painter Warpaints Fanatic Effects, Oozing Vomit (18 ml)
- Acrylic paints with stabilisers
- High opacity
- Intensive pigmentation
-
The Army Painter Speedpaint, Forest Sprite (18 ml)
- Forest Sprite
- Gravelord Grey
- Holy White
- Pastel Yellow
- Zealot Yellow
- +74
- Fast application
- High pigmentation
- Easy handling
-
The Army Painter Colour Primer, Matt White (400 ml)
- Matt White
- Brainmatter Beige
- Daemonic Yellow
- Barbarian Flesh
- Desert Yellow
- +21
- Quick-drying formula
- Uniform top coat
- High quality pigments
-
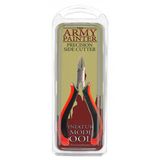
The Army Painter Precision Side Cutter
- Precise cutting head
- Ergonomic handle
- Durable, hardened blades
Magazine Articles:
- YouTube Episode: Game Changer: Bambu A1 mini SwapMod!
- YouTube Episode: AI Generated Models Are Great! Just Not For 3D Printing...
- Installation of the BLTouch levelling sensor on the Creality Ender 3 V2
- YouTube Episode: Why aren't you printing faster? Speed & Flow tests!
- Printing Tips for the colorFabb CorkFill
Discover 3DJake:
-
Ireland: Free standard delivery from € 87,90
-
Free
returns More than 11.300 products
We deliver worldwide to
more than 40 countries
